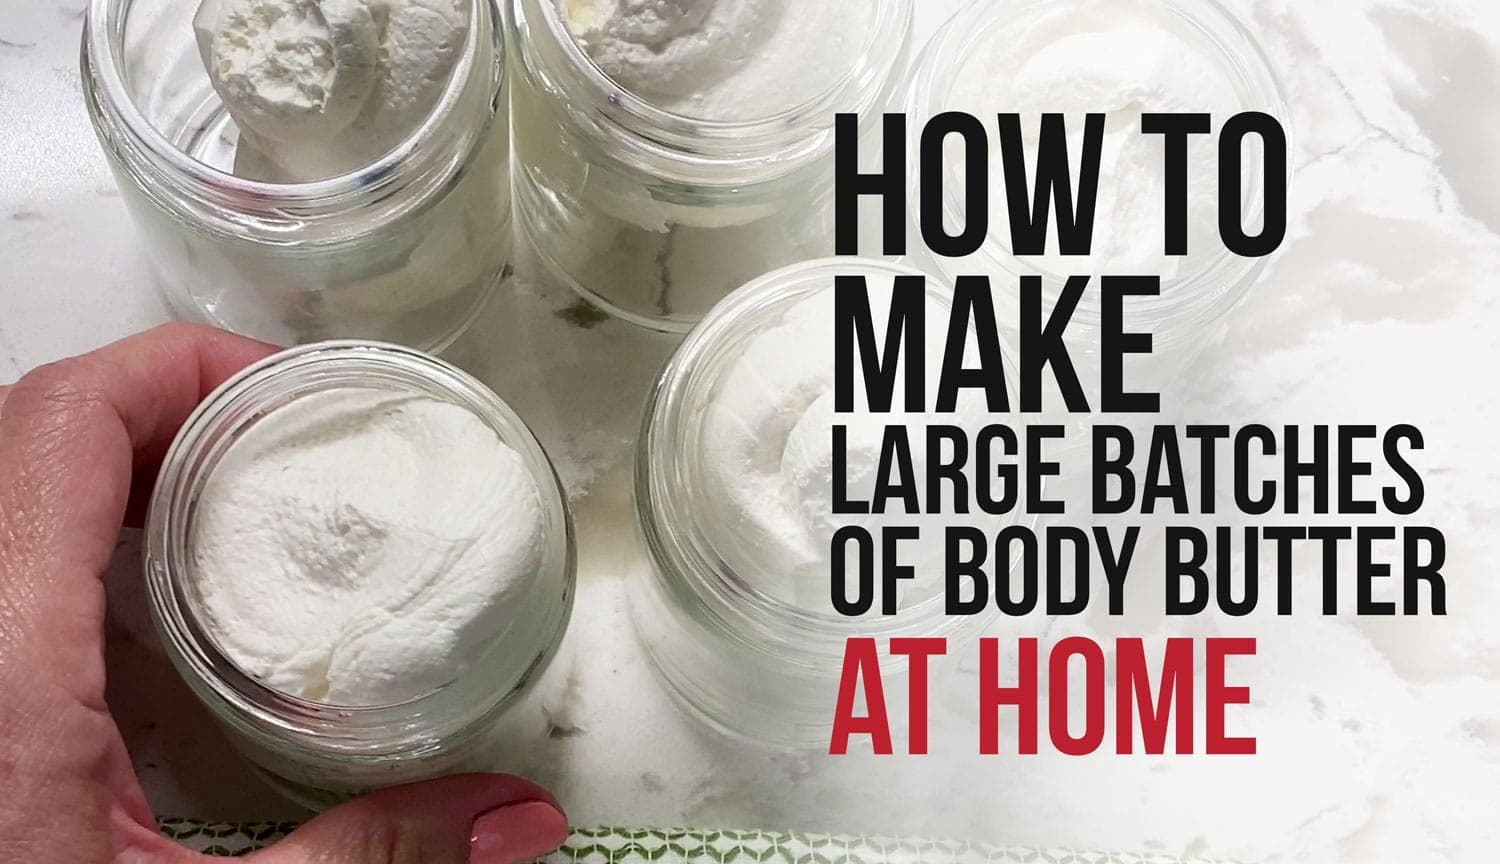
So you’ve started a small business making homemade skin care products, and you’ve realized how impractical and chaotic it can seem to make body butter at home in large batches. Unfortunately, not everybody has access to a commercial size kitchen or industrial sized equipment that could make the process easier. Well, today we’re going to pass along some tips on making large batches as well as for utilizing your home kitchen to make the process as smooth as possible. There are also videos below that further illustrate the information.
How to make body butter at home in large batches
Scroll down and you’ll find part 2 at the bottom of this post
Gather the Ingredients
First you will need to figure out how many jars you have and are looking to fill with your body butter. Once you have that number and know how much each jar holds, it’s time to do some math to figure out how much of each ingredient you need. There are two methods to scale the ingredient amounts listed below and all amounts below are in oz unless otherwise noted.
Method #1
1.
2. (repeat for each ingredient):
3. (repeat for each ingredient):
Method #2
1.
2.
3. (repeat for each ingredient):
The easiest way to keep track of your ingredients and how much you need of each is to stick a large handwritten note/label on each ingredient so you won’t get confused or have to keep referring to your recipe. The amounts will be right there on the ingredient’s container itself.
Logistics
Now, as mentioned before, if you are making body butters in your home kitchen, you will want to figure out how much you can make at once considering your mixing bowl size, your double boiler setup and your mixer. Stand mixers have limitations on how much you can mix at once (make sure you account for increased volume from whipping) so you will most likely have to split your batch up. Splitting up the batches is pretty easy, just take your ingredient amounts and divide them up by the number of batches you need to break the process down into.
Weighing Your Ingredients
You absolutely will need access to a kitchen scale for this step. We recommend weighing out your ingredients ahead of time (splitting up as needed for batches). Combine the butters in the bowls ready for melting with a double boiler setup. In your separate bowl(s) or jar(s), combine your oils and cover them until they are needed.
Keep in mind, as long as you’re not adding any Aloe Vera or water to your recipes, you don’t need to add any emulsifiers or preservatives to your body butters. Also, since making body butters is a lot like cooking, it’s ok if the measurements aren’t 100% exact, and if you end up with an extra ounce of a butter or oil added to such large batches, it’s going to be just fine.
Prepping your Equipment
It’s easiest to create a bit of an assembly line type situation in your kitchen. Getting everything you will need, out and ready, so you aren’t fumbling around looking for things in the middle of the process.
You will need (in order)
- your double boiler setup (or a bowl over a pan of water)
- your weighed ingredients, ready to go
- your mixer and rubber/silicone scrapers
- your jars, lids and large zip lock bag or pastry bag
- finally, you’ll need your your product labels.
We recommend laying everything out in the order your will need them so you can be as efficient as possible (time is money!).
Melting
Note: Be careful when working with melted oils and butters, as you don’t want to spill any of them. Just go slowly and carefully when handling them and don’t overfill your bowls.
Next is melting the butters with your double boiler setup. Just melt them slowly over low heat, checking on them occasionally. Depending on the size of your batch, it shouldn’t take more than a half hour, give or take a few minutes, to get them fully melted and combined.
Whipping
Once fully melted, it’s time to go ahead and add your oils that you left in a covered bowl earlier. Cover the bowl(s) and put them in the fridge for a few hours to solidify. We highly recommend putting them in the fridge rather than leaving them out to cool because the cooling rate for Shea Butter + Cocoa Butter differ, and when they cool down at different rates, you can end up with a grainy butter, which will work just as well, but doesn’t look nice.
After the butters have solidified, it’s time to whip! Just add the butter to your mixer (careful of overfilling) and start whipping until it has doubled in volume (it usually only takes 3-5 minutes).
Note: Your body butters will settle over the next 24 hours becoming firmer and not remaining quite as fluffy as when you initially whip it. There’s no way to avoid this without adding synthetic ingredients.
Filling the Jars
The less time efficient method to filling your jars is to just scoop the finished body butter in with a rubber scraper or spoon. The quicker option is to take a pastry bag or zip lock bag, fill it and use a hole in the corner to squeeze the body butter into your jars.
To make sure you have filled your jars as full as possible, we recommend taking a towel folded up and laying it on your counter and tapping the bottom of the jar against it to get the body butter to settle further into the jar. Then you can take either the bag again or just scoop more in with a rubber scraper to top it off.
Labeling
After your jars have been filled and sealed, next step is labeling where you just have to peel and stick your labels and place them on your jars/containers.
There are several types of labels you can go with for your products (see even more info about creating/designing your labels with our other blog post here). You will be less frustrated if you go with professionally printed labels, either from a local print shop or from an online company that prints coated labels. This way, they are waterproof and won’t smudge when your body butter or balm inevitably ends up touching them. You can print your own labels at home by ordering blank sticker/label sheets and using your inkjet printer, but they won’t be waterproof, but potentially more affordable, especially when initially starting your business.
If ordering labels from a local print shop/online shop, you will want to find the shop that will do low-run labels or stickers, so you don’t have to order a large amount as a minimum order. You can get labels that are on rolls that you just peel the label off of or there are options where the labels are separated and just have a peel off back. You can get them in all shapes or sizes depending on your needs and your containers/jars.
Clean Up
You will have a lot of residual butter and oil left on your bowls and utensils after this process. A quick way to make the clean up easier is to take the bowl you had the butters and oils in, and put it back on the double boiler setup and set all your utensils in it and heat it up over low heat to melt the butter and oil residue. Then you can wipe everything off super easily.
Now you’ve learned how, go and make a large batch of body butter at home!


